Update of sub-project development info by participants
This section describes the procedure to be followed by participants to update information about their sub-projects’ development, both to report on the achievement of milestones and to incorporate or modify their tasks self-assessment before periodic monitoring telcos.
Logging in
To access the monitoring platform, you need a username and a password.
Note
Usernames are of the form manager_XXXX or deputy_XXXX, with XXXX being the FFplus ID of your sub-project, and also userN_XXXX with N being a digit starting in 1 for additional accounts in case more than two people participate in the monitoring tasks of your sub-project.
Warning
Do NOT use your e-mail address as username.
At the time of your first login, you need to use the Forgot your password? option to set your own password. An e-mail with a link to reset it will be sent to the manager/deputy e-mail address provided at the beginning of the sub-project.
Access the sub-project page
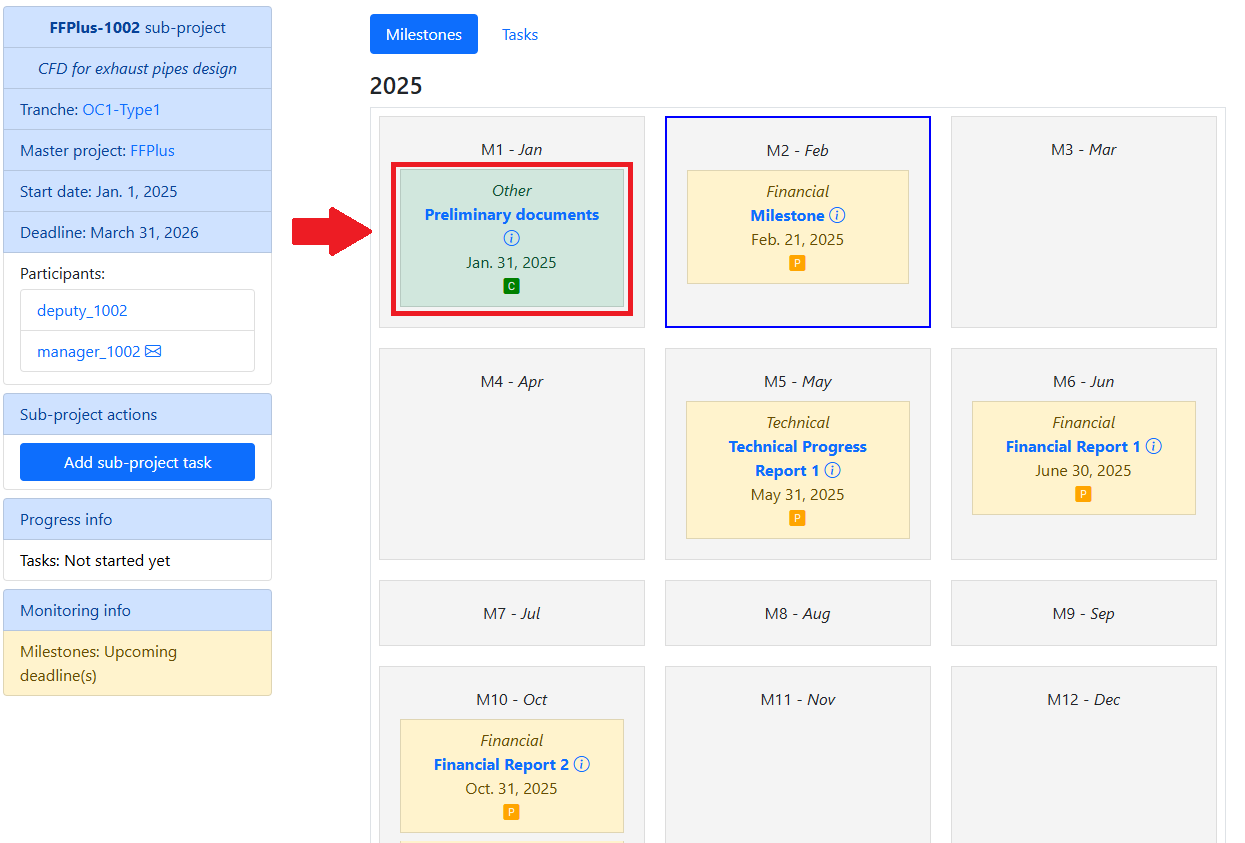
When logging into the application, the homepage will display a summary calendar with all the sub-projects of the participant. For each sub-project, a double column (1) is displayed with the overall status (self-assessed progress - depending on the tasks-, monitoring - depending on the milestones) and, under each month, the status of the milestones to be achieved by that time (2).

Just click the name of the desired sub-project to access its details page.
Tasks and Self-assessed progress status
In the periodic monitoring telcos, participants will be asked to self-assess the development of their sub-projects. They must use the application to indicate the current status of the ongoing sub-project before each periodic monitoring telco. The overall self-assessed progress status depends on the statuses of each sub-project task.
The “Tasks” button next to the “Milestones” one opens the tasks panel.
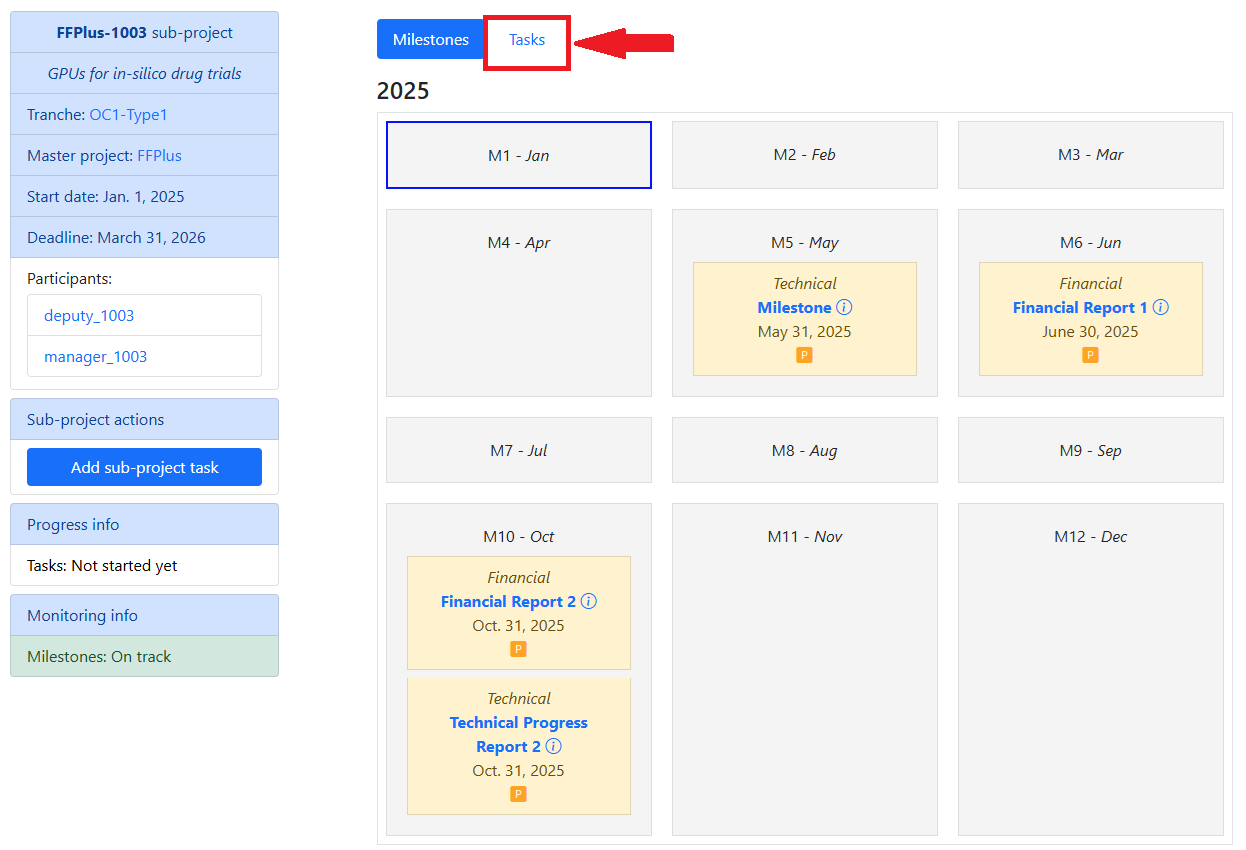
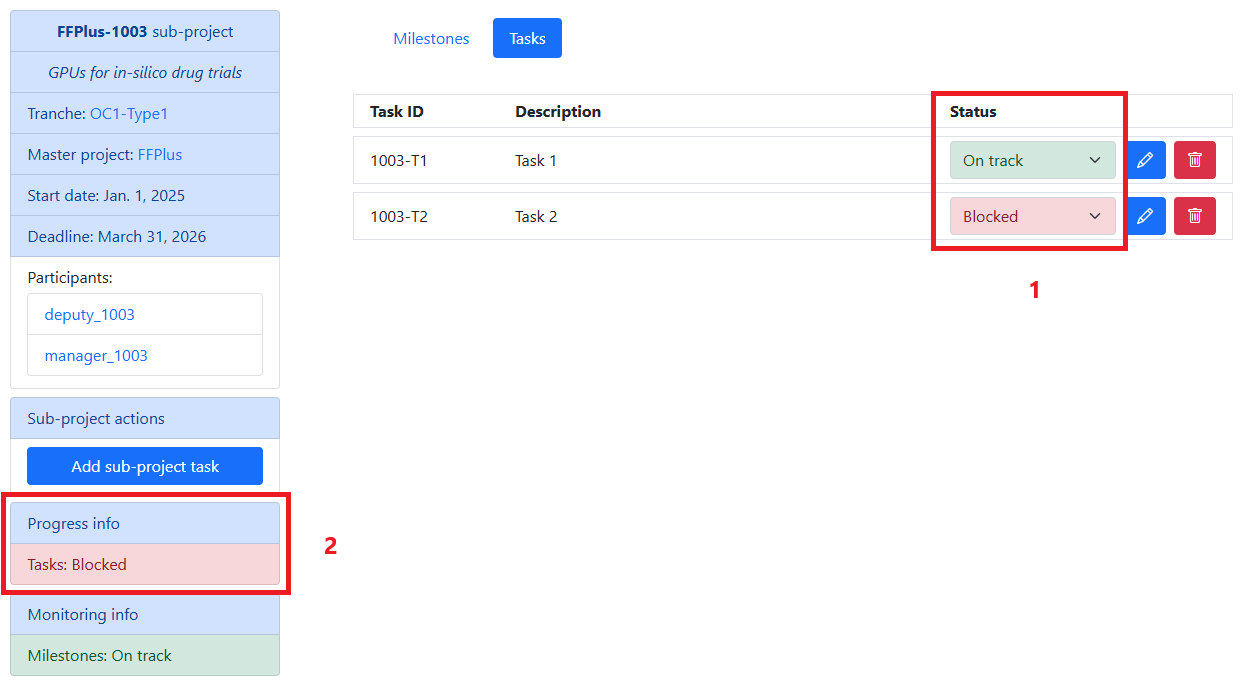
Here the user can see all the sub-project tasks, with their ID, a brief description and its current status.
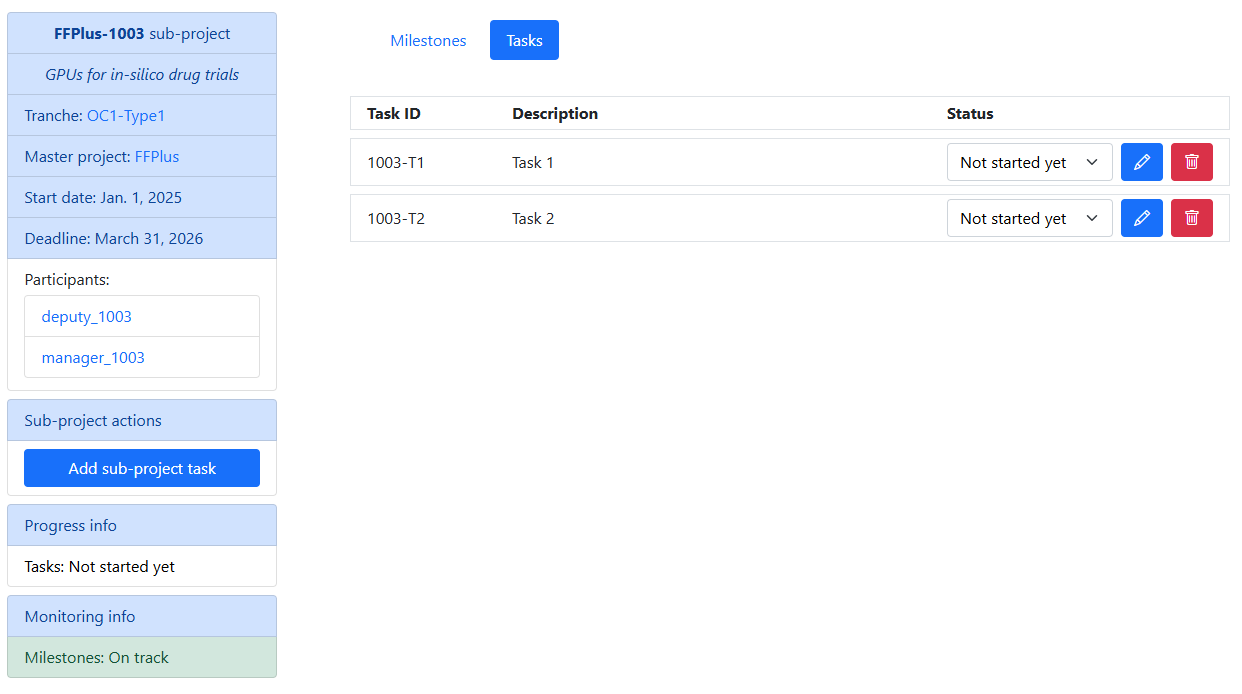
The task status can have four values:
“Not started yet” (colorless).
It indicates that the task still has to begin.
“Blocked” (red).
It indicates major issues that can potentially endanger the sub-project goal.
“Minor issues” (yellow).
It indicates the sub-project is encountering some problems to fulfil the task on schedule.
“On track” (green).
It indicates that the task is going according to the plan.
The traffic-lights colour scheme makes the situation of the sub-project understandable at a glance.
The general progress status can be seen both in the participant calendar home page and in the left column of the “Milestones”/”Tasks” panels.
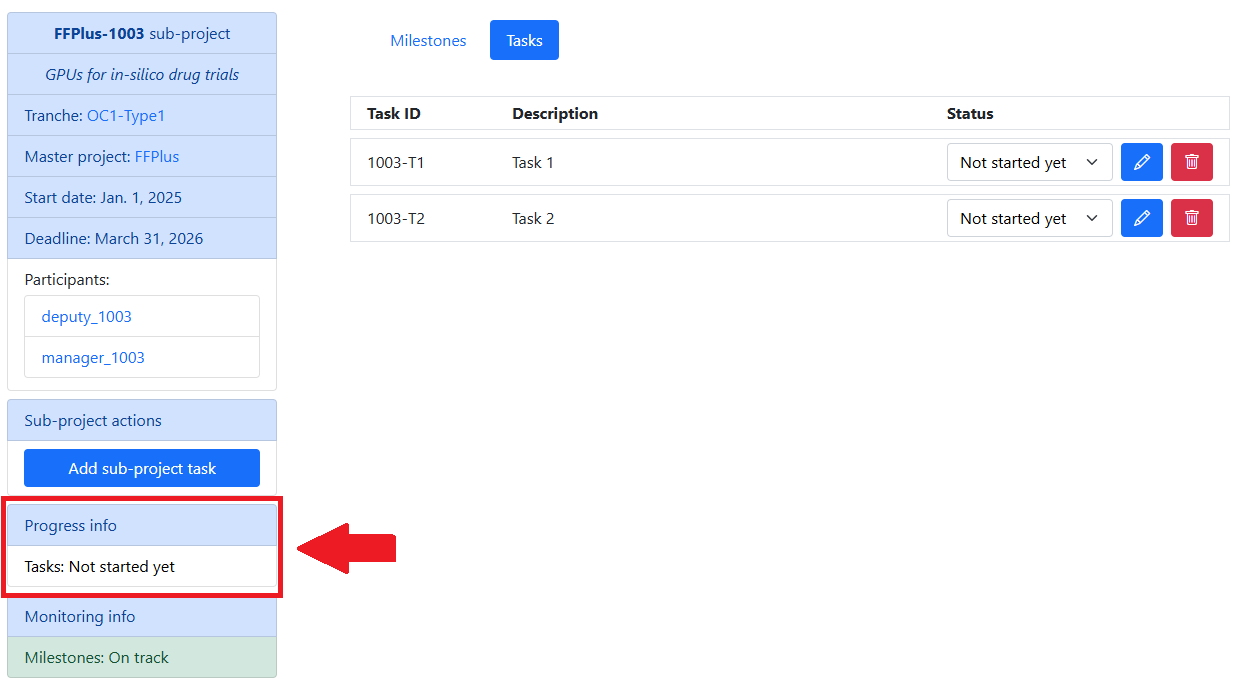
This overall progress status depends on the statuses assigned to each individual task, taking the worst value of them all. E.g., if all tasks have “On track” or “Minor issues” status but one that is “Blocked” (1), the overall progress status will also be “Blocked” (2).
Changes in the tasks statuses update immediately the general one both in the left column menu and in the participant calendar.

Creating a new task
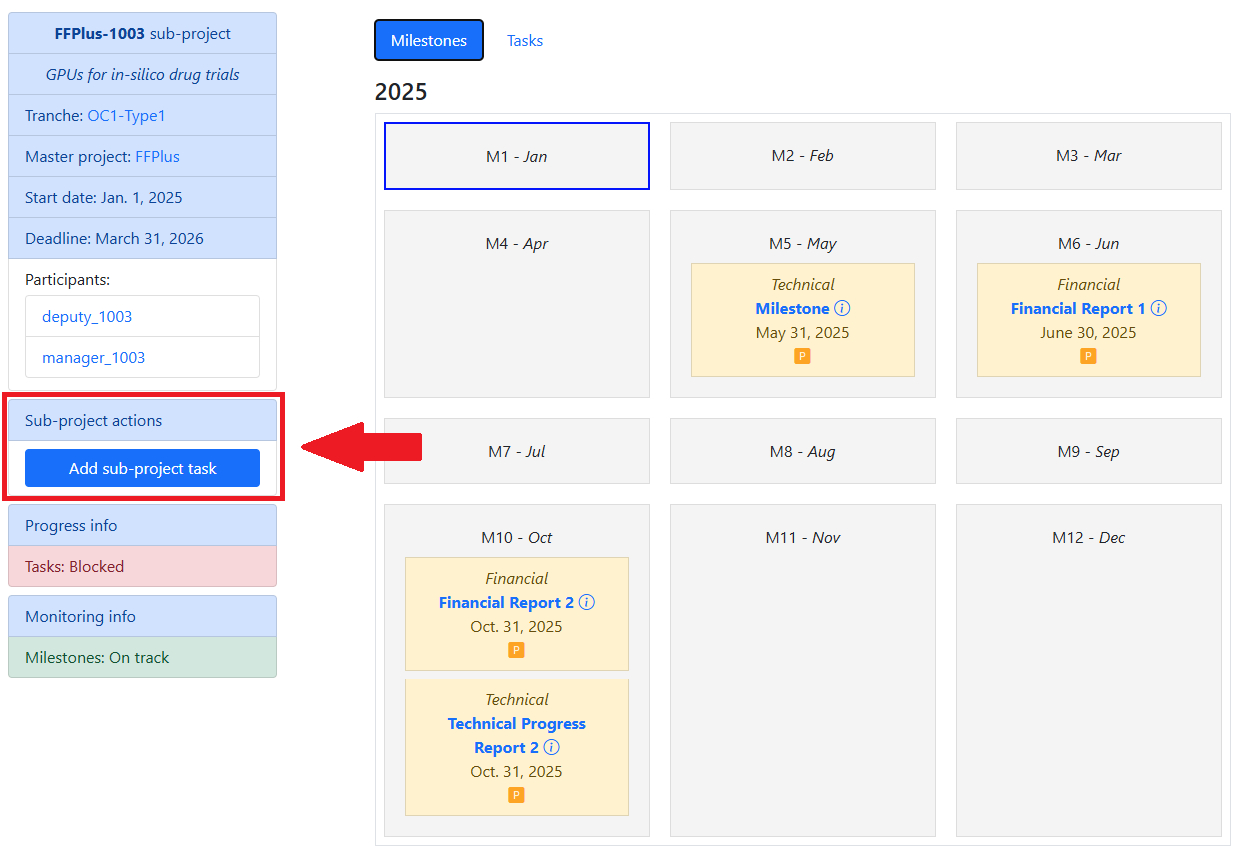
To create a new task you just need to click the “Add sub-project task” button in the left column.
A pop-up menu will appear, allowing you to introduce the task ID, its description and to initialize its status in any of the four available options. Hovering the cursor over the information icon gives a brief explanation of the field to be filled in.
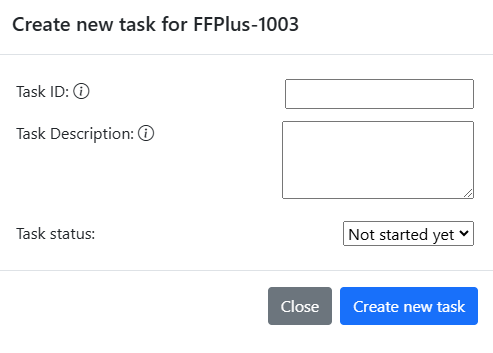
Pressing the “Create new task” button will close this menu and take you to the “Tasks” panel, where the new task appears among the other sub-project ones (if there are any).
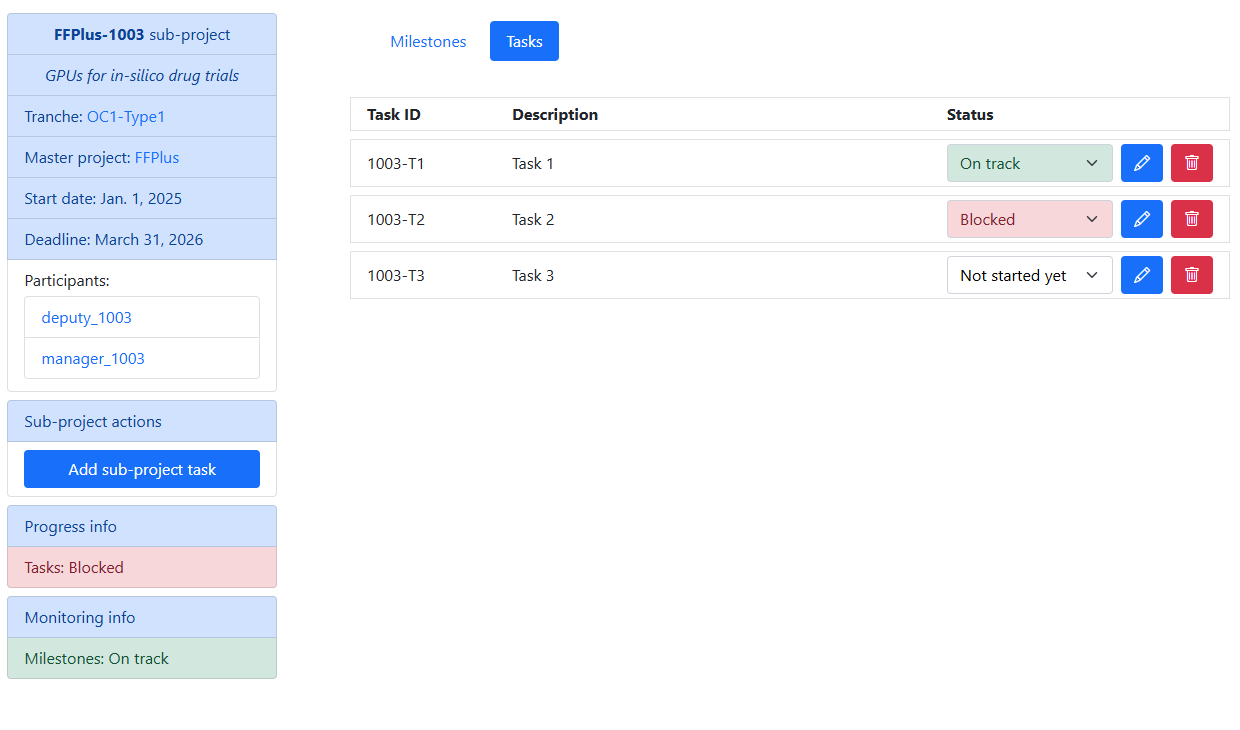
The two buttons next to each task status allow to edit (1) and delete (2) the corresponding task.

Milestones update
Look for the desired milestone in the calendar
Once in the sub-project’s details page, look for the desired milestone in the calendar.
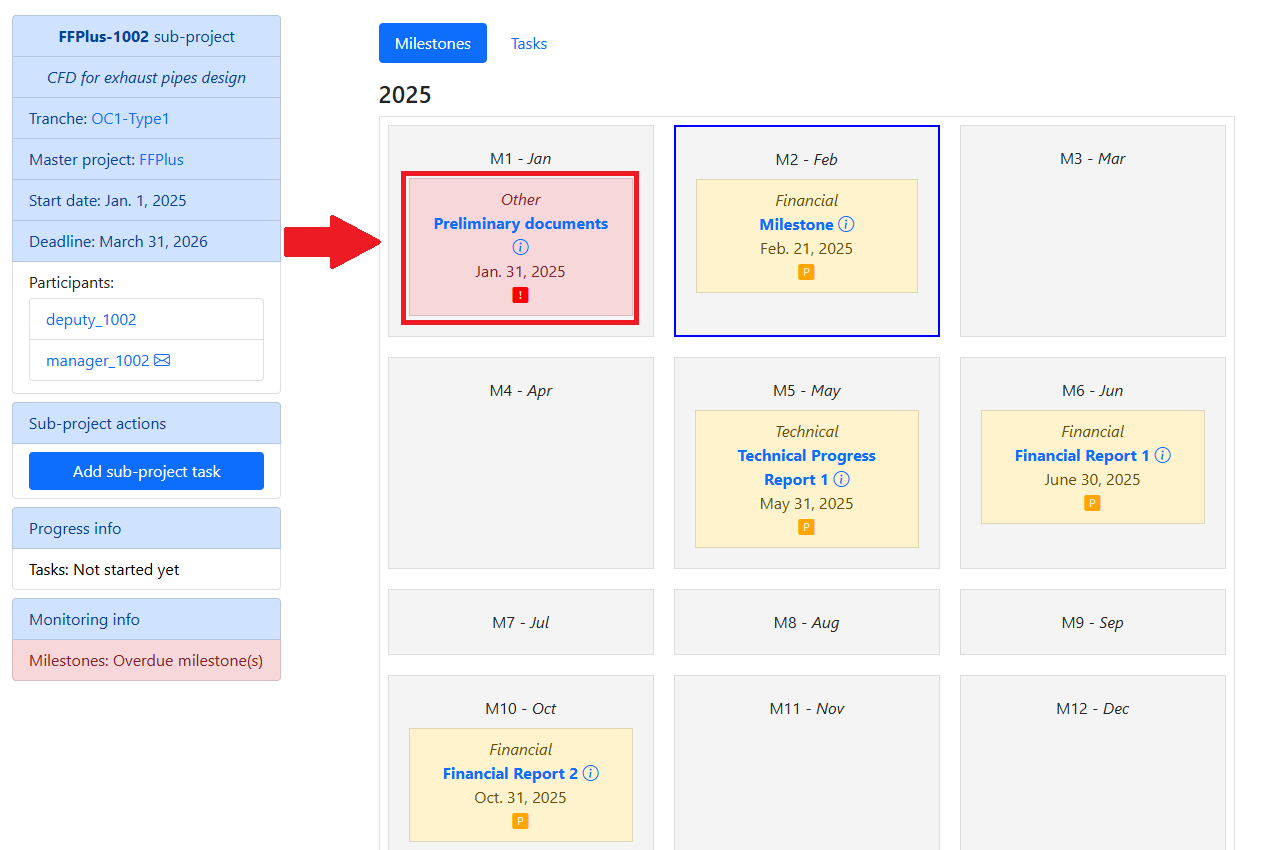
The name of the milestone is a clickable link that opens a new form with the milestone details, its current status and the operations allowed on it.
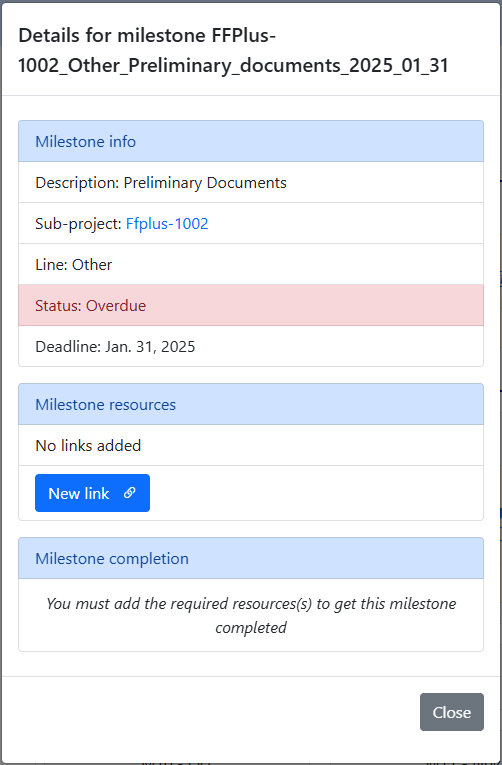
Update the milestone status
Sub-project milestones require the elaboration of some documents to be completed. The documents themselves must be uploaded into the BCSW repository.
In the monitoring app, a milestone will be marked as completed when a link to the corresponding document in the BCSW repository is provided.
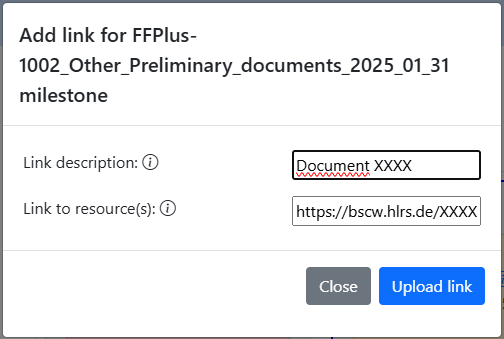
Links can be attached to a milestone by clicking the “New link” button. This will open an upload form on which the participant must provide the desired link to the BCSW repository, give it a descriptive name and confirm the operation clicking the “Upload link” button.
With a link uploaded, the milestone will automatically become “Completed”, awating validation from a tranche manager.
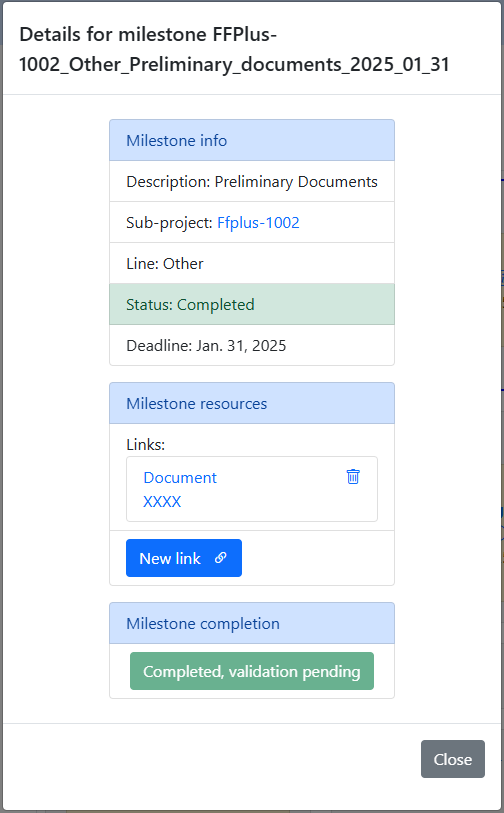
Note
Sub-project participants can remove links from milestones if they are still “Completed” but not “Validated” yet. The milestone will return to “Pending” status if no links are left after such removals.
Changes on milestones status are automatically shown on the sub-project calendar.